Spring Detox Oxymel
This post contains affiliate links. If you choose to purchase through these links, I may earn a small commission at no additional cost to you. I only share products I genuinely use or feel good about recommending.
A Traditional Seasonal Herbal Preparation
Spring has long been viewed as a season of renewal. After the heavier foods and slower rhythms of winter, many herbal traditions turn toward roots and early greens to gently support the body as the seasons shift. This is where a spring oxymel fits so naturally.
If you’re new to oxymels, you may want to begin with What Is an Oxymel?, where I share the foundations of this traditional honey and vinegar preparation. This post builds on that knowledge with a simple, seasonal recipe you can make at home.
Why a Spring Oxymel?
In early spring, herbalists often work with roots that have been slowly developing underground and nutrient-dense leaves that emerge as the weather warms. Combining these herbs into an oxymel creates a preparation that’s easy to take consistently and stores well without refrigeration.
This particular blend focuses on traditionally nourishing and supportive plants, making it a steady addition to a springtime apothecary rather than a harsh or aggressive approach.
The Spring Detox Oxymel Blend
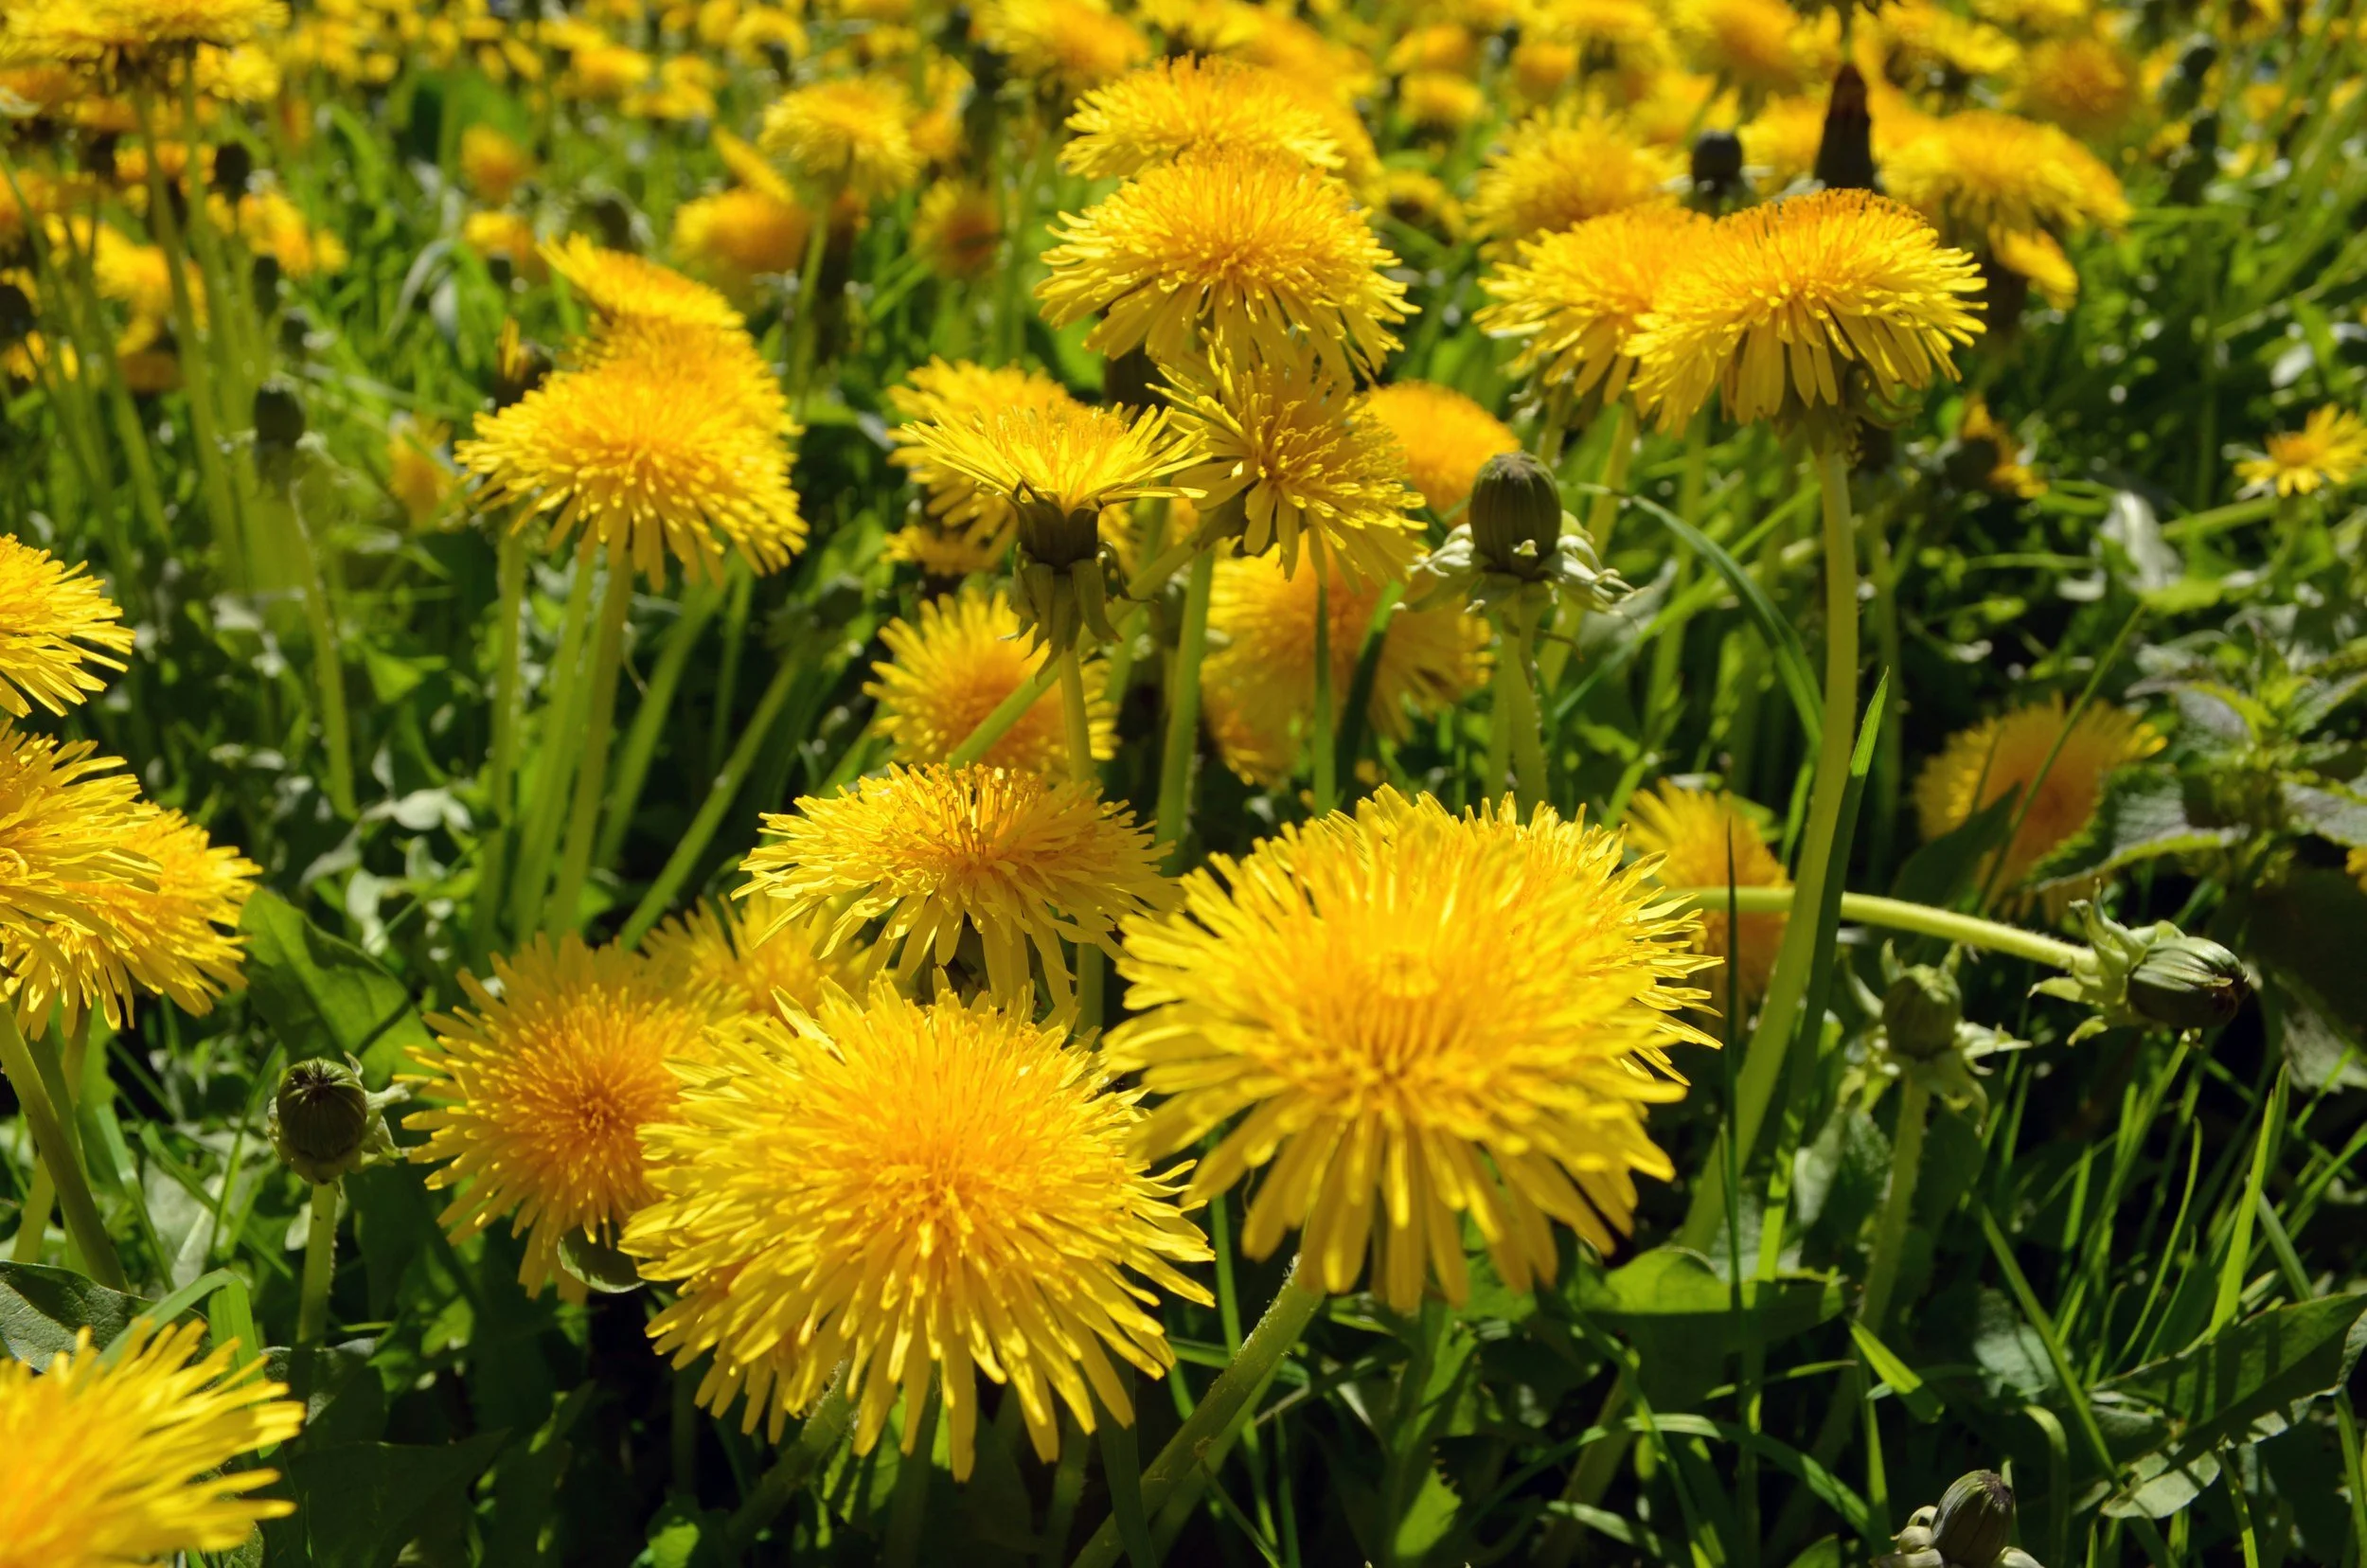
This recipe uses a combination of roots and leafy herbs that have been traditionally associated with seasonal support.
Burdock root and dandelion root form the foundation of this oxymel. Nettle leaf adds mineral-rich nourishment, while violet leaf brings a gentle, soothing quality to the blend.
For this recipe, you’ll use:
Four parts burdock root
Four parts dandelion root
Two parts nettle leaf
One part violet leaf
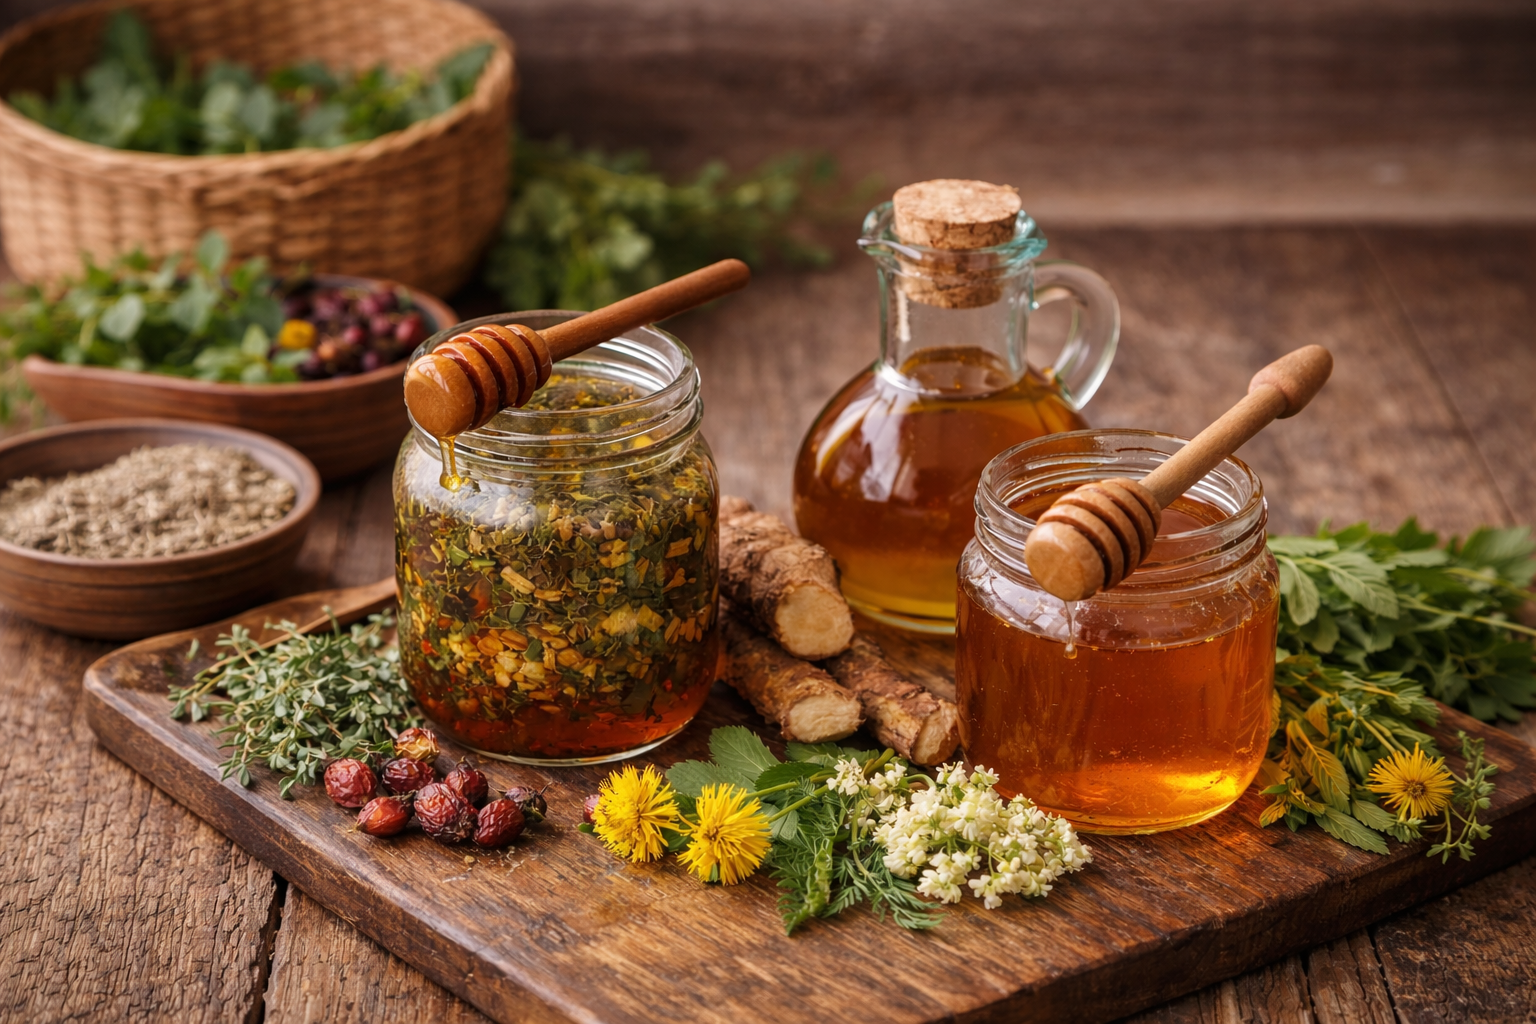
Once your herbs are combined, you’ll cover them with equal parts raw honey and apple cider vinegar.
How to Make the Oxymel
Place your herbs into a clean glass jar, leaving a bit of headspace at the top. If your honey is thick, you can gently warm it just enough to pour easily, being careful not to overheat it.
Combine the honey and apple cider vinegar, then pour the mixture over the herbs until they are fully covered. Stir gently using a wooden, silicone, or plastic utensil, avoiding metal. Cover the jar with a plastic or coated lid, label it with the ingredients and date, and place it in a cool, dark location.
Shake the jar gently every few days. After four to six weeks, strain out the herbs and transfer the finished oxymel into dark glass bottles for storage.
How to Use This Oxymel
This oxymel can be taken by the teaspoon, either straight or diluted in a small amount of water.
A typical adult amount is one to two teaspoons, one to three times daily. Many people prefer taking oxymels before meals, though they can be taken at any time that works best for you.
Consistency tends to matter more than large amounts. Start with smaller servings and adjust as needed.
Storage and Shelf Life
Store your finished oxymel in dark glass bottles in a cool, dark place. Most well-made oxymels will keep for six to twelve months, and refrigeration can extend that time.
Always check for changes in smell or appearance before use. A good oxymel should smell pleasant and look clear and bright.
Where This Fits in the Home Apothecary
This spring oxymel is a simple way to work with traditional seasonal herbs without complicated preparation methods. It pairs well with teas, infusions, and other foundational remedies and can be easily adjusted based on the herbs you have on hand.
If you’d like to better understand how oxymels and other preparations work together, you can find a deeper overview in Herbal Preparations for the Home Apothecary.

In this post, I share child-friendly oxymel combinations, along with guidance for gentle use and dosing within families.